Maintaining your automobile's engine is critical to provide, its endurance and work. One important, factor of engine preservation is often changing the oil and oil filter. While it can appear to be a project fine left to a specialist, converting the oil filter yourself is a truthful, method that can prevent cash and come up with a experience of work. This guide will walk you through the steps to exchange your oil filter, helping you benefit from self-belief in keeping your car.
Understanding the Importance of Oil and the Oil Filter
Oil is the lifeblood of your automobile’s engine, lubricating the moving components to lessen friction, exorbitant, overheating, and cleansing away pollutants. Over time, oil breaks down and loses its strength. The oil filter outperforms a crucial function by means of abducting dust, particles, and metallic fragments, establishing, that the simplest easy oil circulates via the engine. Regularly changing the oil and clearing it out is crucial to hold your engine jogging smoothly and to avoid luxurious upkeep.
Tools and Materials Needed
Before you start, collect the necessary gear and materials
- New Oil Filter: Make sure it’s consistent along with your vehicle’s make and version.
- Engine Oil: Refer to your car’s manual for the proper type and amount.
- Oil Filter Wrench: Helps in getting rid of the antique oil filter.
- Socket Wrench: Needed to remove the drain plug.
- Oil Drain Pan: To capture the old oil.
- Funnel: For adding new oil.
- Gloves and Safety Glasses: To assure, your fingers and eyes.
- Rags or Paper Towels: For cleaning up spills.
- Car Jack and Jack Stands: If your car doesn’t have enough ground clearance.
Step-by-Step Guide to Changing the Oil Filter
1. Prepare Your Workspace
Choose a flat, strong door to paint on and authorize your automobile is parked securely. If wanted, use a vehicle jack to lift the automobile, and the location jack stands underneath the auto for safety. Allow the engine to quiet down if it's been going for walks, as hot oil can reason burns.
2. Drain the Old Oil
Locate the oil drain plug underneath your automobile. Place the oil drain pan beneath the plug to trap the oil. Use the socket wrench to loosen and take away the drain plug. Be cautious, as the oil can also go with the flow out quick. Allow all the antique oil to drain into the pan. This can also take numerous minutes. Once the oil has dried, smooth the drain plug and update it, tightening it securely with the socket wrench.
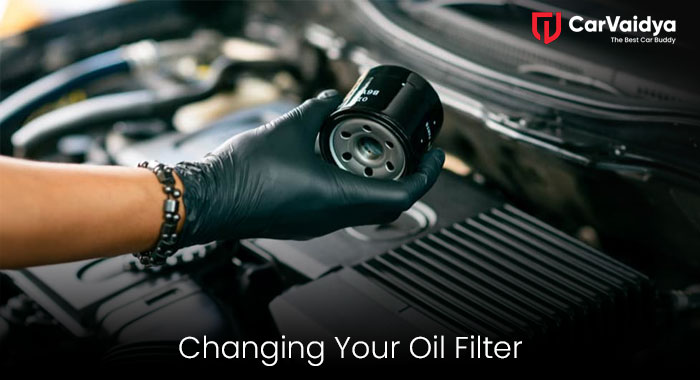
3. Remove the Old Oil Filter
Locate the oil filter, that's commonly on the facet of the engine. Place the oil drain pan underneath to catch any residual oil. Use the oil filter out wrench to loosen the clear out with the aid of turning it counterclockwise. Once loosened, cast off the clear out by hand. Be organized for some oil to spill out.
4. Prepare the New Oil Filter
Before installing the new oil filter, apply a small amount of clean oil to the rubber gasket at the top of the filter out. This enables create a steady seal and makes it less complicated to do away with all through the next oil alternate.
5. Install the New Oil Filter
Screw the brand-new oil filter onto the engine by hand, turning it clockwise. Once it’s comfortable, deliver it a further region flip to make certain it’s securely in area. Avoid over-tightening, as this could harm the gasket and motive leaks.
6. Add New Oil
Locate the oil filler cap on the pinnacle of the engine and dispose of it. Using a funnel, pour the new engine oil into the filler hollow. Refer to your vehicle’s manual for the proper amount of oil wanted. After adding the oil, replace the filler cap securely.
7. Check for Leaks and Dispose of Old Oil
Start your vehicle and allow it to run for a couple of minutes, then turn it off. Check under for any leaks across the oil drain plug and the new oil filter out. If there are no leaks, you’re good to go. Dispose of the old oil and filter out nicely by means of taking them to a recycling middle or an automobile parts store that gives oil recycling offerings.
Tips for a Successful Oil Change
- Wear Gloves and Safety Glasses: Protect your fingers and eyes from oil and particles.
- Use the Correct Oil and Filter: Always check with your vehicle’s manual to set up harmony.
- Don’t Over-Tighten: When replacing the oil filter out and drain plug, avoid over-tightening to prohibit damage.
- Regular Maintenance: Keep a log of your oil modifications and carry out them at the periods encouraged with the aid of your automobile’s producer.
Benefits of Changing Your Oil Filter
Changing your oil clear out yourself has numerous advantages:
- Cost Savings: Doing it yourself saves money on labor expenses.
- Convenience: You can alternate your oil at your availability, without setting up appointments.
- Satisfaction: Completing a protection undertaking on your own can be very enjoyable.
- Knowledge: Understanding your automobile’s protection desires allows you to higher take care of it ultimately.
Changing the oil filter is an easy yet important challenge that may normally, affect your automobile’s work and persistence. By following these steps, you may hopefully maintain your vehicle and make sure it runs easily. Regular oil and filter adjustments are a key part of car protection that, while carried out efficiently, can prevent luxurious maintenance and keep you safe on the street. With a touch exercise, you’ll discover that changing your oil filter is a clean and profitable process.
You can read some other articles
Here Are 5 Mistakes to Avoid While Driving a Car with a Manual Transmission
The advantages of automatic climate control in vehicles
At what speed does a car get better mileage
 By CarVaidya
0 Comments